

With our dear Daddy away I really wanted to have a stricter routine of meals and clean up as well as bedtime routines for the children (and me) so I reverted to a policy that we have had before in our home of NO DVDs (which is our only TV viewing) during the week at all.
We have had this policy before and it gradually erodes as we start to watch a little here and there and then find we are watching it a little each day.
I admit that especially with Stephen away it can be a temptation for a ' five minutes piece' to send children to watch the TV.
However I do know that our children are far more creative in their play as well as what they do with their time when we eliminate or reduce the screen time.

When I got them out again though I was quite disappointed that my original templates had been lost, these were hand drawn by me years ago.

What do you need for this project?
I always use manila folders for the body of the doll
You also need some cardboard in various colours. You can use folder dividers or large coloured cardboard sheets.
Standard $1 wrapping paper from the cheap shop
coloured paper
Gel pens
crayons
Scissors
Glue

It is best if you cut out all your pattern pieces first then you can then use the pieces for the coloured paper you want.
First you need to cut out the body and a hair pattern.
Then you glue the hair on to the back of the head


Measure the length of the dress you wan ton your doll form the shoulder an then double over using the folded part as your shoulder seam.
Then cut a small hole for the head to slip through..
Cut curves or other patterns for the dress as well as a waist line


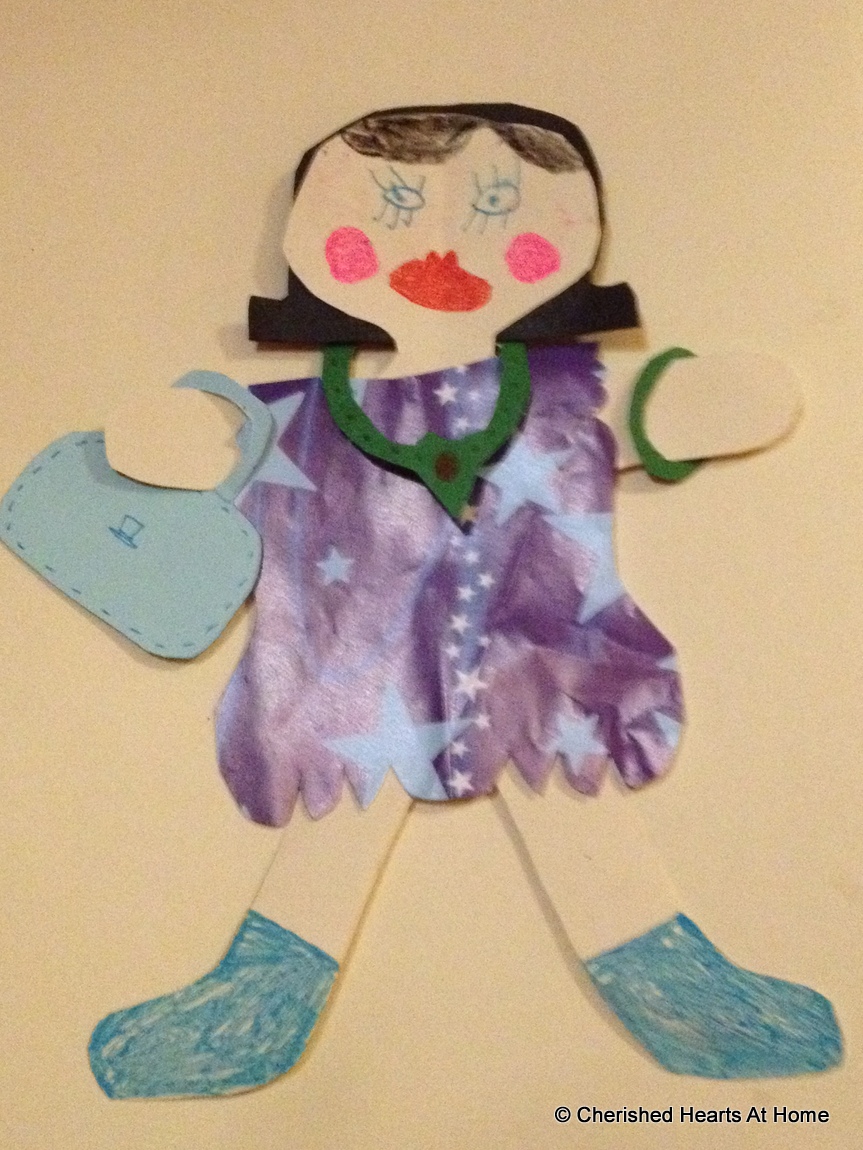

I hope you have enjoyed this little arty, crafty tutorial. We are planning on having quite a few paper craft sessions over the next week.
Blessings to you and your homes,


1 comment:
I'm finally catching up on my blog reading... (I Know! So late!)
I had to comment at the sheer overwhelmingly cuteness of this blog post. Your paper dolls are fantastic and fun and, best of all, from the heart.
Lovely work.
xoxo
Veronica
Post a Comment